

Bleeding your brakes is simply the process of purging air bubbles from the hydraulic brake lines. This restores a firm, responsive brake pedal. You do this by opening a small bleeder valve at each wheel, using either the brake pedal or a special tool to push out old fluid and air, and then closing the valve before any new air gets sucked back in.
Why Brake Bleeding Is Essential for Safe Driving
Imagine you're driving on a busy Richland Hills street and your brake pedal suddenly feels soft, sinking way too close to the floor. That unnerving, spongy sensation is the classic sign of air in your brake lines. It's a critical safety problem you can't afford to put off. Learning to bleed your brakes isn't just about routine upkeep; it’s about making sure your car can stop reliably every single time you need it to.
Your car’s brakes are a hydraulic system, meaning they use fluid to transfer the force from your foot on the pedal to the brakes at the wheels. Air is highly compressible, but fluid isn't. When air gets into the lines, pushing the pedal just squishes those air bubbles instead of applying full pressure to your brakes. The result is a dangerous loss of stopping power.
The Dangers of Contaminated Brake Fluid
Brake fluid is naturally hygroscopic, which is a fancy way of saying it absorbs moisture from the air over time. This water contamination is a huge problem for two main reasons.
First, it drastically lowers the fluid's boiling point. The heat from heavy braking can turn that absorbed water into steam, creating compressible gas pockets in your lines—which is just as bad as having air in them. We call this brake fade, and it can cause a sudden, total loss of your ability to stop.
Second, moisture causes internal corrosion. It rusts brake lines, calipers, and the very expensive ABS module from the inside out. Eventually, this corrosion can make parts fail, leading to some seriously costly repairs.
A firm brake pedal is your most important safety feature. It’s the direct connection between your foot and your car's ability to stop. A spongy or soft pedal is a clear signal that this connection has been compromised and needs immediate attention.
Local Conditions and Maintenance Schedules
Here in North Texas, the combination of intense summer heat and humidity makes brake fluid break down even faster. High outside temperatures increase the heat in your entire brake system, making the fluid more likely to boil if it’s contaminated with even a little bit of water.
Because of our local climate, sticking to a regular service schedule is non-negotiable. Most carmakers suggest replacing your brake fluid every two to three years. But if you feel any change in your brake pedal, it's time to act much sooner. Keeping an eye on your brake fluid level and its condition is key to your safety.
While this guide will show you how to do it yourself, it's just as important to know when to call in the pros. For complex systems, especially those with advanced ABS or ESP, the specialized equipment at a trusted shop like Express Lube & Car Care ensures the job is done right without any guesswork. For more tips on vehicle safety, our car safety inspection checklist is a great resource to help you stay ahead of problems.
Getting Your Tools and the Right Brake Fluid Together
Doing a brake bleed right the first time comes down to good old-fashioned prep work. Rushing into it without the right gear is a recipe for a stripped bleeder screw and a massive headache. Before you even touch a jack, let's get your workstation set up.
First, safety. You’ll need a good jack and, more importantly, a set of sturdy jack stands. Never, ever work under a car that’s only held up by a jack. You'll also need a lug wrench for the wheels and a pair of safety glasses. Trust me, you do not want brake fluid splashing in your eyes.
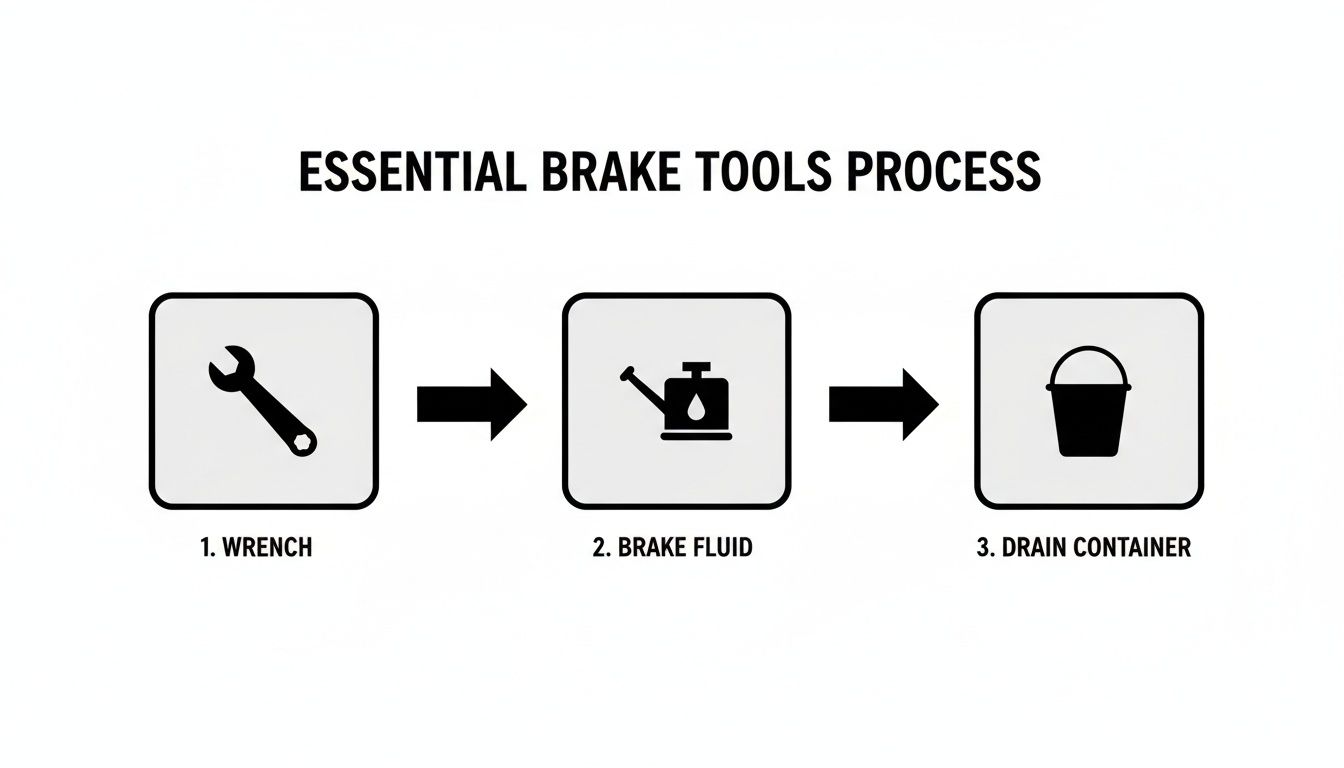
Wrenches, Hoses, and a Catch Can
To actually bleed the brakes, you need a wrench that fits the bleeder screws on your calipers. My best advice? Use a six-point box-end wrench or a dedicated brake bleeder wrench. These grab the screw from all sides and almost eliminate the chance of rounding it off, which can turn a simple job into a nightmare. An open-end wrench only grips two sides, making it much more likely to slip.
You'll also need a clear, flexible tube that fits snugly over the bleeder screw and a clear bottle to catch the old fluid. The clear tube is key—it lets you see the air bubbles coming out so you know when the line is clear. An old plastic water bottle and some aquarium tubing work just fine.
Choosing the Right Brake Fluid is Critical
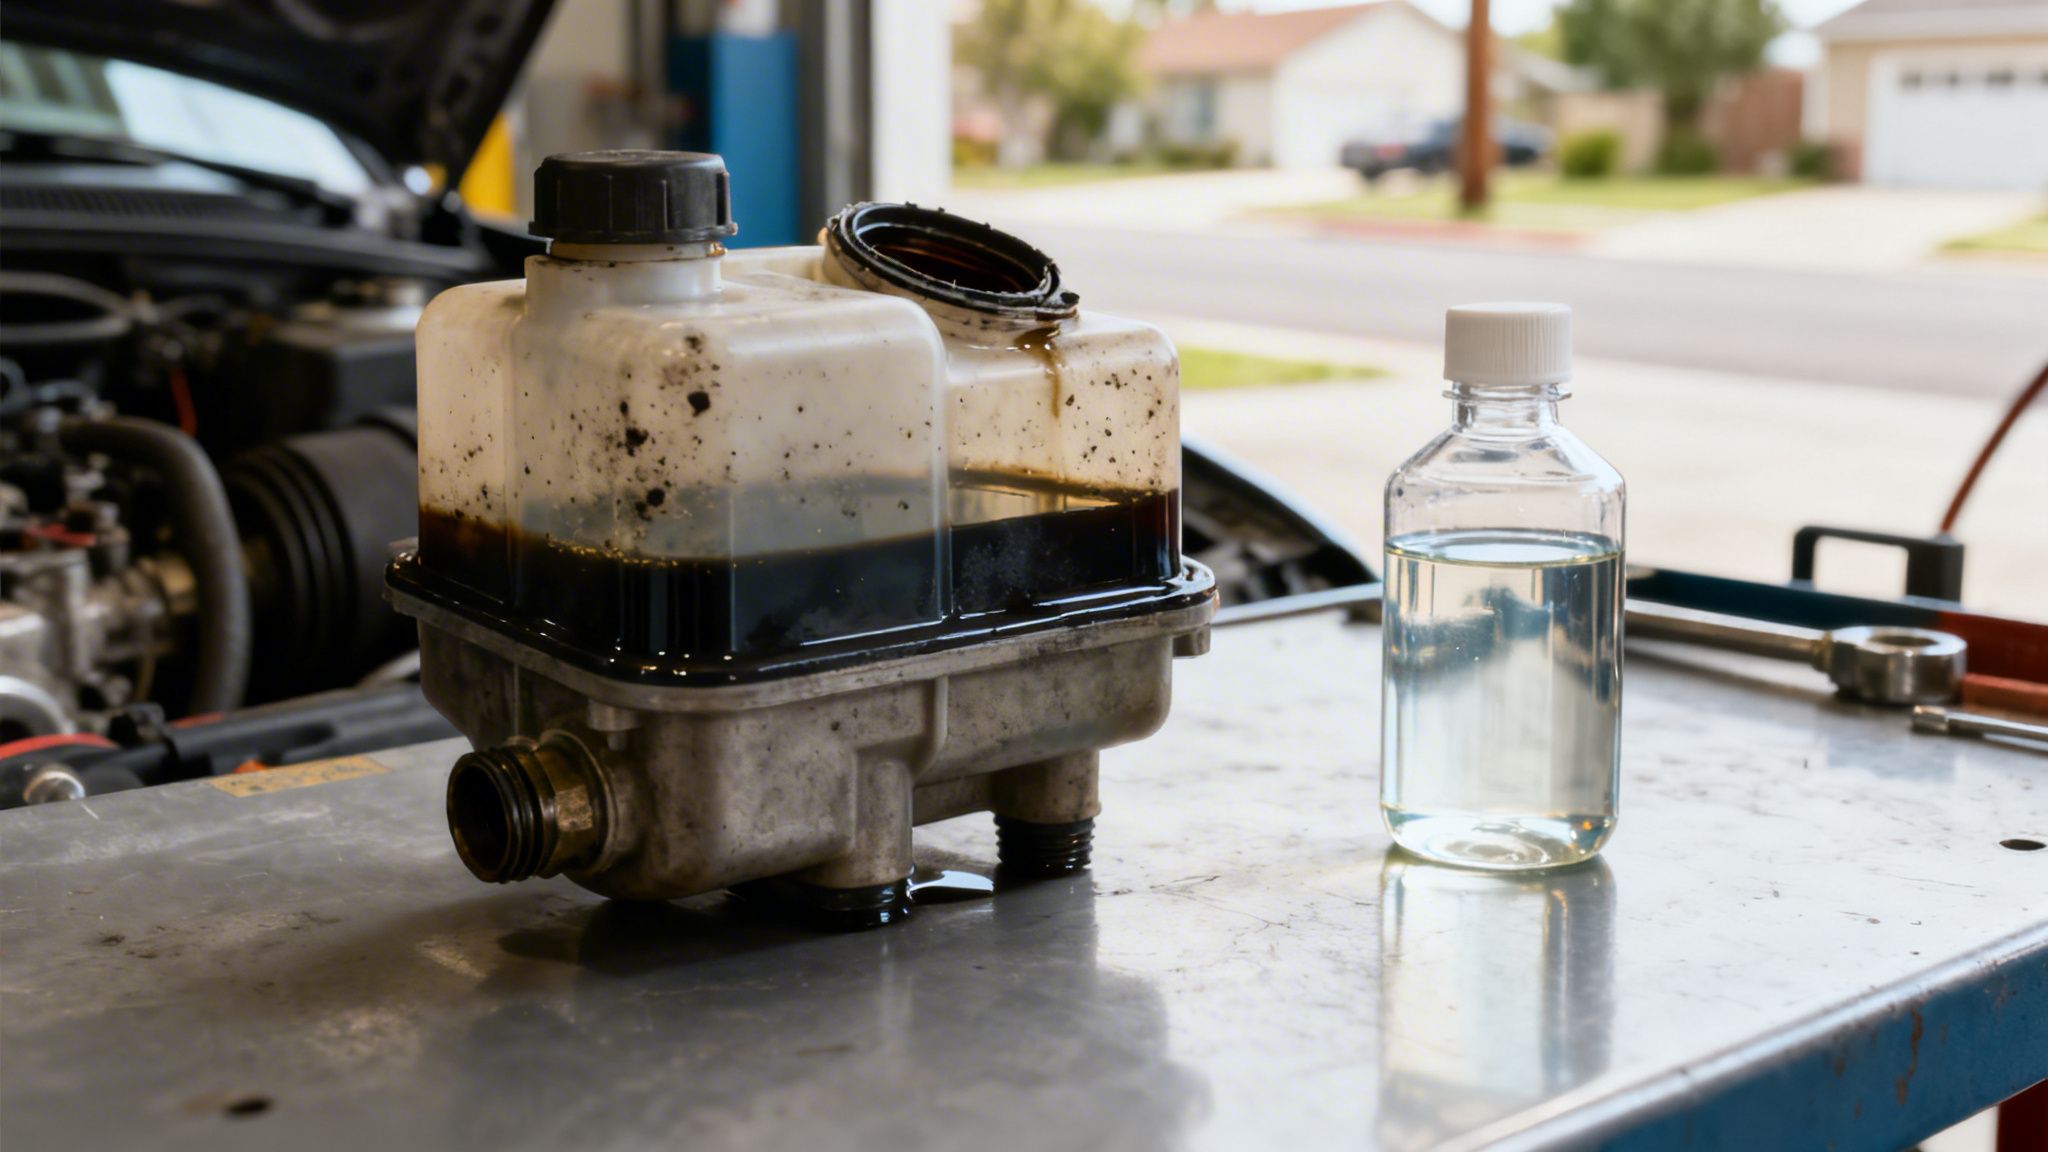
This is the one step you absolutely cannot get wrong. Using the wrong brake fluid can cause seals to swell, components to fail, and can lead to a complete loss of braking power. Your car was engineered for a specific fluid, and you have to stick with it.
You'll usually find the required type printed right on the cap of the brake fluid reservoir. If not, your owner's manual is the final word. Always start with a new, sealed bottle of fluid. Once opened, brake fluid starts absorbing moisture from the air, which lowers its boiling point and makes it less effective.
Curious about the condition of your current fluid? We cover that in our guide on how to tell if brake fluid is low or contaminated.
To help you understand the differences, here's a quick breakdown of common brake fluids.
Brake Fluid Types and Characteristics
This table compares common brake fluid types to help you choose the right one for your vehicle and driving needs.
| Fluid Type | Base | Boiling Point (Dry/Wet) | Common Use Case | Compatibility Notes |
|---|---|---|---|---|
| DOT 3 | Glycol-Ether | 401°F / 284°F | Standard for most older and many modern passenger cars. | Can be mixed with DOT 4, but will lower its boiling point. |
| DOT 4 | Glycol-Ether | 446°F / 311°F | Common in modern cars, especially with ABS/ESP systems. | Can be used where DOT 3 is specified; do not go backward. |
| DOT 5.1 | Glycol-Ether | 518°F / 356°F | High-performance, towing, and track use. | Compatible with DOT 3 and DOT 4. The ".1" is important! |
| DOT 5 | Silicone | 500°F / 356°F | Classic cars, military vehicles; does not absorb water. | NOT compatible with any glycol fluids. Do not mix! |
Mixing fluids can be a costly mistake. For instance, putting silicone-based DOT 5 into a system designed for glycol fluids (DOT 3, 4, or 5.1) can cause the fluid to gel, clogging lines and leading to catastrophic brake failure.
Key Takeaway: Always use the brake fluid type specified for your vehicle. When in doubt, check your owner's manual or the master cylinder cap. It's the simplest way to prevent major system damage.
One-Person Bleeder Kits: Working Smarter
While the classic two-person method works, modern tools can make bleeding brakes a one-person job. If you do your own maintenance, investing in one of these is a great idea.
- Check-Valve Hose: The simplest and cheapest option. This is just a tube with a one-way valve that lets fluid and air out but stops air from getting sucked back in. It's basic but effective.
- Vacuum Bleeder: This tool uses a hand pump or air compressor to create a vacuum at the bleeder screw, actively pulling old fluid and air out. They're fast, but can sometimes pull a little air past the screw's threads, which can trick you into thinking there are still bubbles in the line.
- Pressure Bleeder: This is my personal favorite. It attaches to the master cylinder and gently pressurizes the whole system. This gives you a steady, constant flow of new fluid, pushing all the old fluid and air out ahead of it. It’s the most surefire way to get a perfect bleed and avoid letting the master cylinder run dry.
Time to Bleed the Brakes
Alright, let's get those hands dirty. You've got your tools and the right brake fluid, so you're ready to start the actual bleeding process. We're going to walk through a few different ways to get it done, focusing on the details that make the difference between a frustrating afternoon and a job well done.
Before you touch a single wrench, remember the golden rule: always start at the wheel farthest from the master cylinder and work your way closer. For nearly every car here in the U.S., the order is:
- Right Rear
- Left Rear
- Right Front
- Left Front
Following this sequence pushes old fluid and air through the longest brake lines first. It’s the only way to be sure you’ve flushed the entire system without trapping air pockets somewhere in the middle.
The Classic Two-Person Method
This is the old-school, tried-and-true technique. It doesn't require any special gadgets beyond your basic tools, but it absolutely depends on clear communication between two people. You'll have one person at the brake pedal (the "Pumper") and one at the wheel (the "Wrench").
It's a simple rhythm: press, hold, open, close, release.
Here’s how the conversation should go:
- The Pumper slowly presses the brake pedal a few times to build pressure. They then push it to the floor and hold it there, shouting, "Holding!"
- Hearing that, the Wrench cracks open the bleeder screw just enough for fluid and air to escape into the catch tube. The pedal will start to sink.
- Just before the pedal hits the floor, the Wrench quickly tightens the screw and calls out, "Closed!"
- Only after hearing "Closed!" does the Pumper let their foot off the brake.
Repeat this cycle until you see a solid stream of clean, new fluid in your clear tube instead of a bubbly, dark mess. That's your cue to move to the next wheel.
The tools for this job are straightforward.
You really just need a wrench for the bleeder screw, fresh fluid to add, and a container to catch the nasty stuff coming out.
A critical piece of advice: Never let the master cylinder run dry. If the fluid level gets too low, it will suck in a huge gulp of air, and you'll be forced to start the entire job over from square one. I always top it off after bleeding each wheel.
The One-Person Pressure Bleeder Technique
Working solo? A pressure bleeder is your best friend. In my experience, it's the most reliable way to get a perfect, air-free bleed by yourself. This tool screws onto the master cylinder reservoir and applies a low, constant pressure—usually 10-15 PSI—to the brake fluid.
The beauty of it is the simplicity. Once the system is pressurized, you just walk from wheel to wheel, open the bleeder screw, and let the pressure push the old fluid and air out. No pumping required, and no chance of sucking air back into the system.
A pro tip here: make sure you get a perfect seal at the master cylinder. Use the right adapter for your car and only tighten it until it's snug. If you crank down on it, you can easily crack the adapter or the reservoir.
The One-Person Vacuum Method
Another option for the solo mechanic is a vacuum bleeder. It’s the opposite of a pressure bleeder—instead of pushing fluid from the top, it uses a hand pump to create a vacuum at the bleeder screw and pull fluid out from the bottom.
You just attach the pump's hose to the bleeder screw, crack the screw open, and start pumping. The vacuum will draw the old fluid and air through the line and into the tool’s catch jar.
One common quirk to watch for: this method can sometimes pull tiny air bubbles past the threads of the bleeder screw itself. It'll look like you still have air in the system when you really don't. I usually put a little grease around the base of the bleeder screw to help seal it and prevent this.
Once you’re done with the last wheel, do one final check of the master cylinder and top it off to the "MAX" line. Get the wheels back on, torque your lug nuts, and give the pedal a few pumps before you go anywhere. It should feel high and firm. If it’s still spongy, you’ve got a stubborn air bubble hiding somewhere and need to run through the sequence again.
Handling Brake Bleeding on Vehicles with ABS
Most modern cars have an Anti-lock Braking System (ABS), that essential safety feature that keeps your wheels from locking up during a hard stop. That little system also adds a tricky new layer to the brake bleeding process.
So, how do you handle it?
For routine jobs, like a simple fluid flush or bleeding a tiny bit of air after a brake pad swap, you can usually proceed just like you would on a non-ABS car. The methods we've already covered—two-person, pressure, or vacuum bleeding—will get the job done and give you a firm pedal back. Normally, the ABS unit is a closed-off part of the system.
The game completely changes, however, if a large amount of air has gotten into the system. This happens if you’ve replaced a major part like the master cylinder, a brake line, or the ABS module itself.
When a Standard Bleed Is Not Enough
An ABS module is a maze of tiny hydraulic valves and a little electric pump. When a big air bubble gets trapped inside, a standard bleed just can’t force it out. The air is stuck in internal passages that only open up when the ABS system actively cycles.
You can bleed all four calipers until you're blue in the face and still have a spongy, dangerous pedal. Why? Because a big pocket of air is hiding out in the ABS module, and you can't reach it. This is where you hit the wall with DIY brake bleeding. To get that trapped air out, you need to perform what's called an ABS auto bleed or service bleed.
This isn't a manual procedure. It requires a professional bidirectional scan tool—not your average code reader. This is a powerful diagnostic computer that talks directly to the ABS module, ordering it to cycle its internal pump and valves. The tool guides the technician through a specific sequence, telling them which bleeder to open as it systematically purges the air from the module and pushes it down the brake line to be bled out normally.
A Real-World ABS Bleeding Scenario
I once helped a buddy replace a rusted-out rear brake line on his truck. We were so careful, using a pressure bleeder to bleed all four wheels afterward. But the pedal was still stubbornly soft. We bled the entire system three more times, absolutely convinced we must have missed a tiny bubble somewhere.
Finally, we gave up and took it to a shop. The tech plugged in a scan tool, ran the ABS auto-bleed function, and literally ten minutes later, the pedal was high and firm. The problem was solved. The scan tool had pulsed the ABS pump and forced out a significant air pocket that we simply had no way of reaching.
That day was a huge lesson: Knowing the limits of your tools and when to call a professional isn't a failure. It's what separates a smart, safe mechanic from a frustrated one.
Knowing When to Visit a Professional
So when should you throw in the towel and call in the pros? The line is actually pretty clear. You need to seek professional help for your ABS-equipped car if:
- You've replaced the ABS module, master cylinder, or a brake line.
- You accidentally let the master cylinder reservoir run completely dry while bleeding.
- The brake pedal still feels spongy or soft after you’ve thoroughly bled all four wheels.
This isn’t an upsell; it’s a critical safety issue. The ASE-certified technicians at a trusted shop like Express Lube & Car Care in Richland Hills have the advanced diagnostic tools needed to service your ABS system correctly. They can run an automated bleed, guarantee every last bit of air is gone, and get your brakes working perfectly again.
Troubleshooting Common Brake Bleeding Problems
You’ve followed every step, tightened the last bleeder screw, and topped off the master cylinder. But when you press the brake pedal, your heart sinks right along with it. A spongy pedal, a stubborn bleeder screw, or an unexpected fluid leak can turn a job well done into a head-scratching puzzle.
Don't throw in the towel just yet. Most of these post-bleed problems are things we see all the time, and they’re usually fixable with a bit of troubleshooting. Let's walk through the most common issues and how to get them sorted.
Why Is My Brake Pedal Still Spongy?
A soft or mushy brake pedal after bleeding almost always points to one culprit: air is still trapped somewhere in the system. It doesn’t take much—even a tiny bubble can make your brakes feel dangerously unresponsive.
The most likely cause is just an incomplete bleed. It's easy to miss a stubborn pocket of air. Your first move should be to re-bleed the entire system. Just be extra careful to follow the correct sequence again, starting with the wheel furthest from the master cylinder and working your way closer.
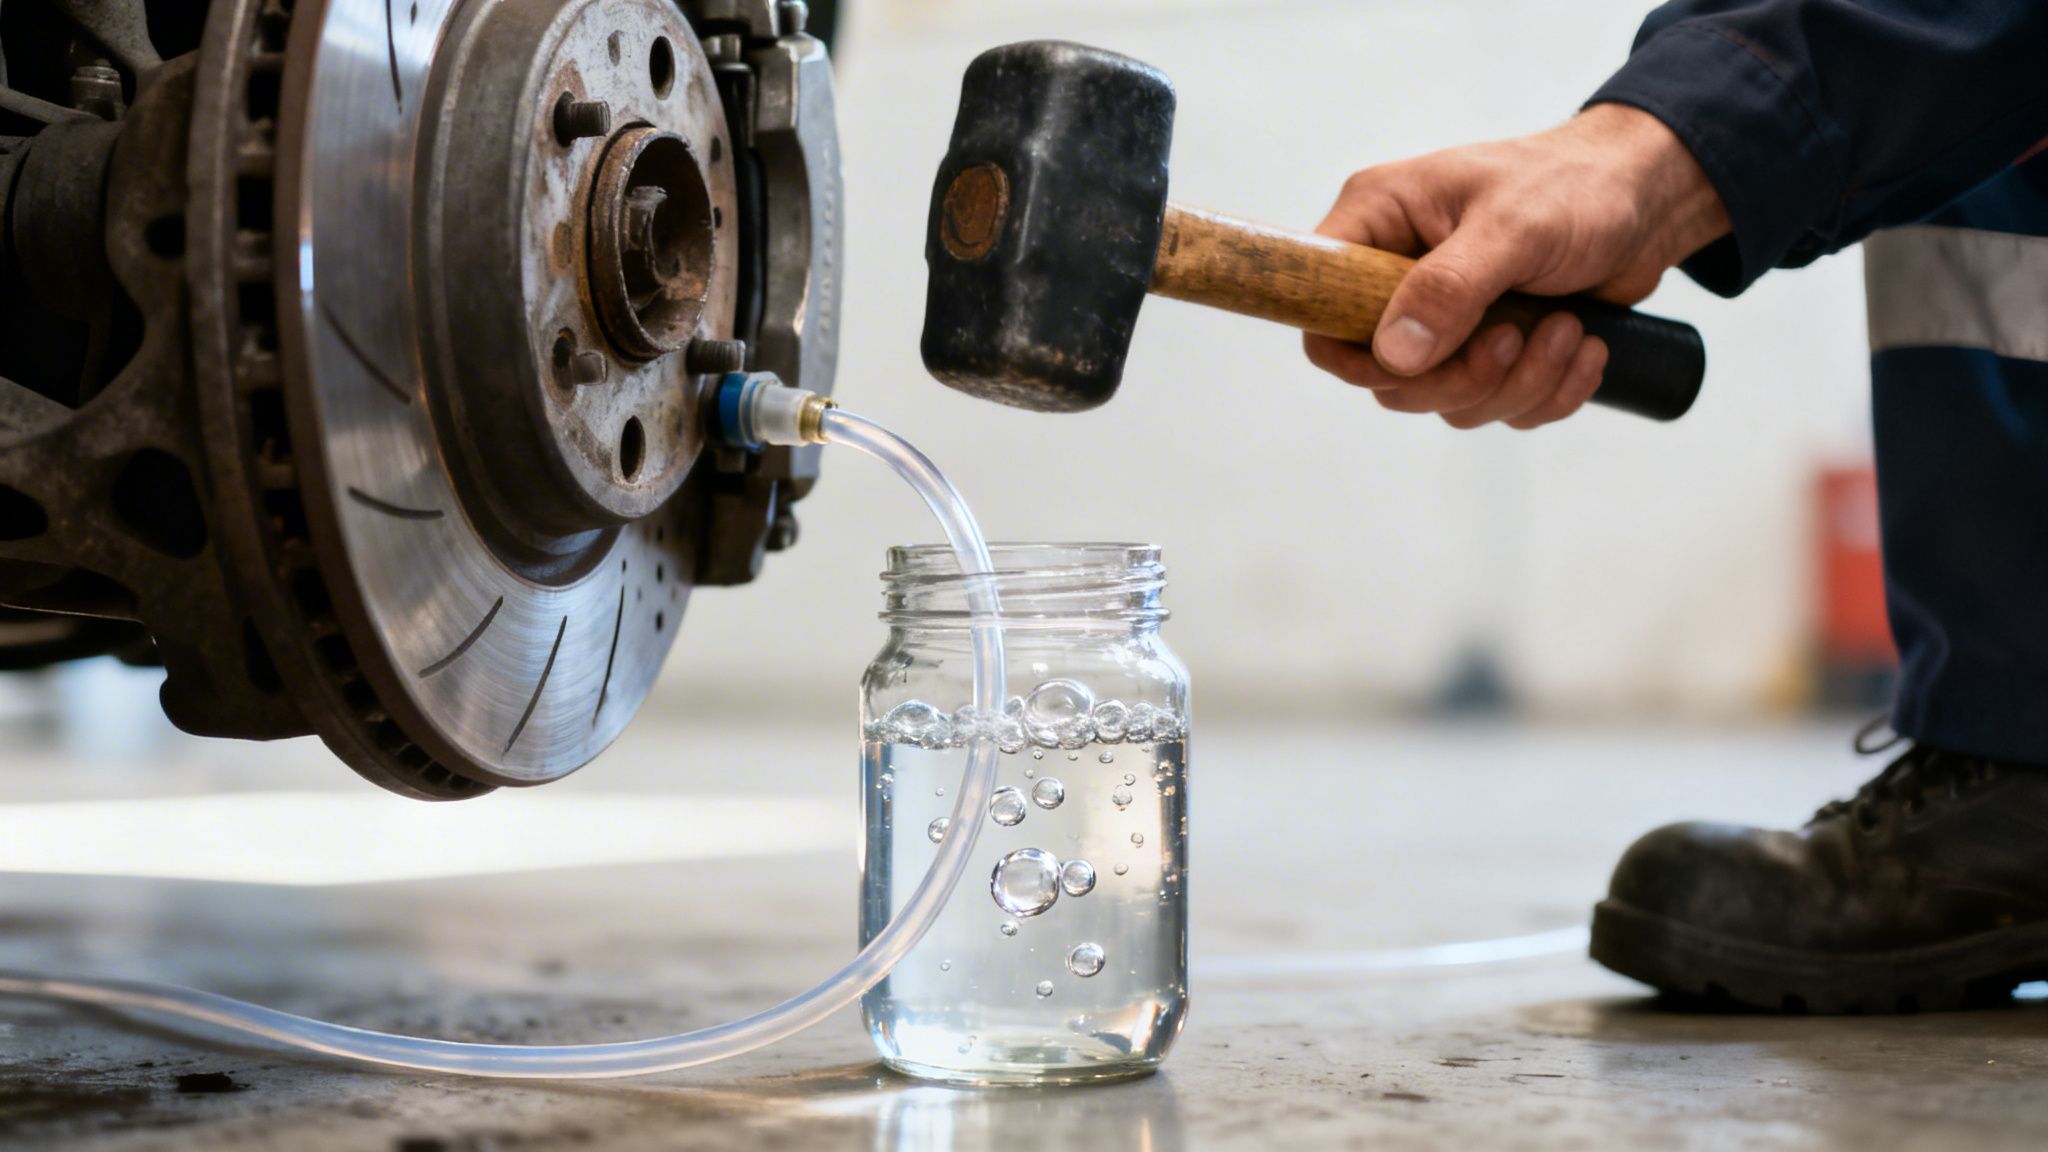
Here's a pro tip: sometimes air gets trapped in the high points of a brake caliper. While a line is open for bleeding, try gently tapping the caliper with a rubber mallet. Those vibrations are often enough to dislodge stubborn bubbles and send them flowing out with the old fluid.
If a second or even third bleed doesn't fix it, you might be looking at a bigger problem. A master cylinder with worn internal seals can fail during the bleeding process. The constant pedal pumping can push old seals past their usual travel limit, causing them to give out. When that happens, fluid bypasses the seals internally instead of building the pressure you need.
Key Insight: If your pedal feels firm when the engine is off but goes soft when you start the car, that’s a good sign your brake booster is working. The issue is almost certainly in the hydraulic system—either trapped air or a failing master cylinder.
How to Handle a Stripped Bleeder Screw
Few things are more frustrating than feeling a wrench slip and round off a bleeder screw. These little screws live a tough life, constantly exposed to high heat and moisture, which makes them prime candidates for seizing up.
As with most things, prevention is the best approach.
- Use the Right Tool: Always use a six-point box-end wrench or, even better, a flare nut wrench. They grip the screw on all sides and drastically reduce the risk of stripping.
- Prep the Screw: Before you even try to turn it, hit the screw with some penetrating oil. Then, use a wire brush to clear away any rust or gunk.
- Apply Smooth, Steady Force: Don't use jerky movements. Apply firm, even pressure to break it loose.
If the screw is already stripped, don't panic. A good set of locking pliers (like Vise-Grips) can sometimes get a solid enough bite to turn it. If that doesn't work, bolt extractor sockets are a lifesaver. They are specially designed to dig into a rounded-off head and can usually get the job done. As a last resort, you can carefully drill out the screw and re-tap the threads, but that's a delicate job best left to pros.
Verifying a Successful Brake Bleed
Once you’re confident the air is out, you have to verify your work before hitting the road. With the engine still off, pump the brake pedal several times. It should feel high and consistently firm—not spongy, and it definitely shouldn't sink slowly to the floor.
Next, start the engine. You should feel the pedal drop just a bit (that’s the brake booster kicking in), then hold firm. Now is the time for a final visual check: look for any signs of leaks around the master cylinder cap and at each of the bleeder screws you just worked on.
Finally, it's time for a cautious test drive. Find a safe, open area like an empty parking lot. At low speeds, apply the brakes firmly to make sure they are responsive and the car stops in a straight line. Once you’re confident, you’re ready for the road.
Remember, properly functioning brakes are a team effort. Issues with other parts, like worn rotors, can also compromise safety. Learning more about a brake rotor replacement service will give you a complete picture of your brake system's health.
Frequently Asked Questions About Bleeding Brakes
Even the most straightforward brake bleeding job can leave you with a few lingering questions. It’s smart to second-guess things when your safety is on the line. We get these questions all the time at the shop, so we’ve put together the answers you’ll need to get the job done right.
If you’re halfway through and feeling stuck, chances are the answer is right here.
How Often Should I Bleed My Brakes
The textbook answer is to flush your brake system and replace the fluid every two to three years. This is solid preventative maintenance and the best way to keep moisture from wrecking your brake components from the inside out.
However, your brake pedal is the real authority here. If it feels spongy, soft, or sinks toward the floor, you need to bleed your brakes right away. It doesn't matter if you just did it six months ago—those are tell-tale signs of air in the lines, and your safety can't wait.
For drivers here in Texas, our intense heat and humidity are brutal on brake fluid, causing it to absorb moisture much faster. It's a smart habit to check your fluid's color and condition once a year. If it looks dark or murky, it’s time for a flush, period.
What Is the Correct Brake Bleeding Order
Getting the sequence right is non-negotiable. You have to push all the old fluid and air out without trapping any along the way. The golden rule is simple: start with the wheel farthest from the master cylinder and work your way closer.
For nearly every left-hand-drive car in the US, the bleeding order is:
- Right Rear: This brake line is the longest run from the master cylinder.
- Left Rear: The next-farthest.
- Right Front: Getting closer now.
- Left Front: The final wheel, and the closest to the master cylinder.
While this order is almost universal, some cars—especially those with tricky ABS modules or unusual brake line routing—might have a different specified order. When in doubt, always trust your vehicle’s service manual over a general guide.
Can I Mix Different Types of Brake Fluid
Let me be crystal clear: No. Mixing different types of brake fluid is a recipe for complete and catastrophic brake failure.
You must never mix silicone-based DOT 5 fluid with any glycol-based fluids like DOT 3, DOT 4, or DOT 5.1. They are chemically incompatible. If you combine them, the fluid will turn into a thick sludge that clogs lines, seizes calipers, and completely destroys the seals in your brake system.
Even though you can technically top off a DOT 3 system with DOT 4 fluid, you’ll be lowering the boiling point of the entire system down to DOT 3 levels. The safest, simplest rule is to only use the exact fluid type printed on your master cylinder reservoir cap. No exceptions.
What Is the Difference Between Bleeding and Flushing Brakes
People often use these terms interchangeably, but they are two very different jobs. Knowing the difference tells you what your brakes actually need.
Brake Bleeding is a repair. You’re doing it specifically to get trapped air bubbles out of the hydraulic lines to fix a spongy pedal.
Brake Flushing is maintenance. You’re completely removing all the old, contaminated fluid from the system and replacing it with fresh, clean fluid.
A full system flush always ends with a thorough bleed to make sure no air got in during the process. Think of it this way: a flush is proactive, while a bleed is reactive.
If you’ve gone through all the steps, tried the troubleshooting tips, and your brake pedal still doesn't feel 100% right, it’s time to let a professional take a look. Your safety is what matters most. The ASE-certified technicians at Express Lube & Car Care have the professional tools and experience to diagnose any braking issue, from a stubborn air bubble in an ABS module to a failing master cylinder. Don't guess when it comes to your brakes—visit us in Richland Hills for fast, reliable service you can trust. Learn more or stop by today at https://www.expressluberichlandhills.com.